Soap scum is one of those bathroom problems that gets worse the more you rush it. Scrubbing harder rarely fixes it. The real secret is understanding dwell time, using the right tools, and avoiding scratch-prone cleaning habits—especially on glass shower doors where streaks and haze show instantly.
This guide walks through a proven, streak-free, scratch-safe method based on practical cleaning experience and professional techniques.
What Soap Scum Actually Is (And Why It’s So Stubborn)
Soap scum forms when soap mixes with:
- Hard water minerals
- Body oils
- Shampoo residue
- Skin products
Over time, these create a cloudy, sticky film that bonds tightly to glass, tile, and fixtures.
The key mistake most people make:
👉 Trying to scrub it off dry or immediately after spraying cleaner.
Soap scum breaks down best when cleaning solution is given time to work.
Step 1: The Most Important Rule — Dwell Time
What Is Dwell Time?
Dwell time means letting the cleaner sit on the surface long enough to dissolve residue before wiping or scrubbing.
From real cleaning experience, this is the step that removes 70–80% of soap scum with minimal effort.
How Long Should Cleaner Sit?
For normal buildup:
✔ 2–5 minutes works well
For heavy buildup:
✔ 5–10 minutes may be needed
The surface should stay visibly damp during this time. If it dries, the cleaner stops working.
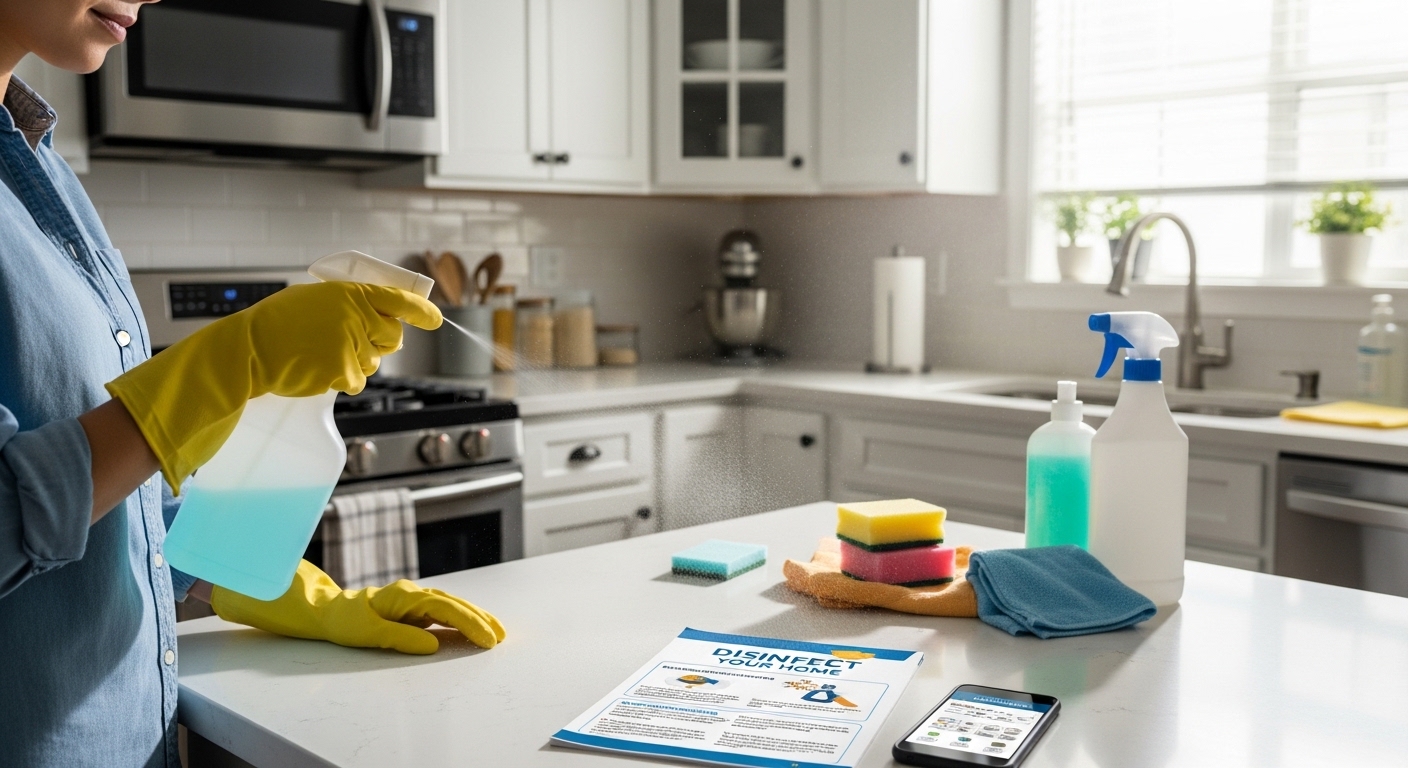
Step 2: The No-Scratch Cleaning Tools That Actually Work
Using the wrong tools is the fastest way to permanently damage shower glass or polished surfaces.
Safe Tools
Microfiber Cloths
- Gentle on glass
- Excellent for lifting residue
- Leaves fewer streaks
Non-Scratch Sponges
- Good balance of scrubbing power and safety
- Ideal for tile and fixtures
Soft-Bristle Brushes
- Best for grout lines and edges
- Reaches corners without damaging finishes
Rubber Squeegees
- Essential for finishing glass doors
- Prevents water spots and streaks
Tools to Avoid
🚫 Steel wool
🚫 Abrasive scouring pads
🚫 Hard-bristle brushes
🚫 Dry scrubbing tools
These can permanently scratch shower glass and dull tile finishes.
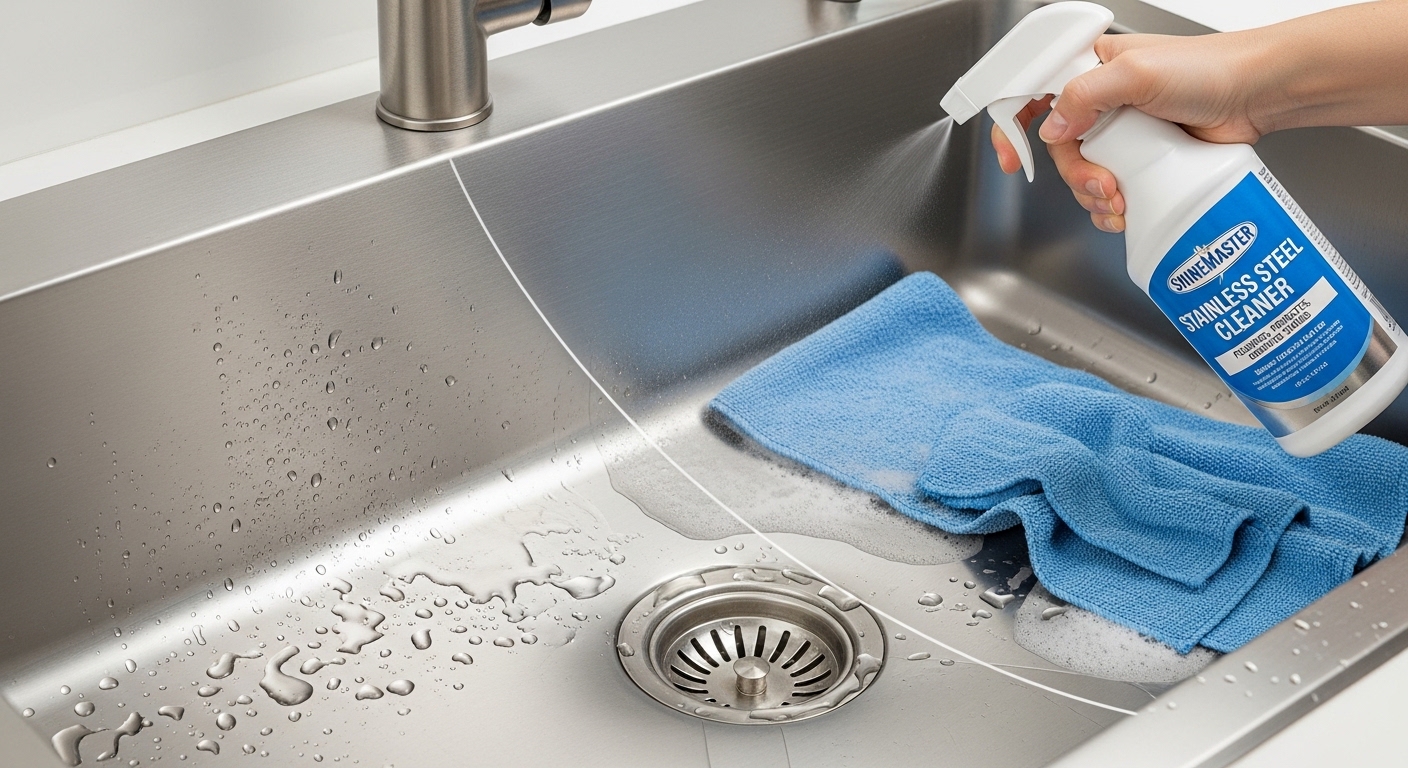
Step 3: The Proper Soap Scum Removal Method
Step 1: Rinse the Surface First
Warm water helps soften soap residue and loosens surface buildup.
Step 2: Apply Cleaner Evenly
Spray or apply cleaning solution across the entire surface, focusing on:
- Glass door panels
- Tile walls
- Faucet bases
- Lower shower areas where buildup is strongest
Avoid spraying too heavily. Even coverage works better than soaking.
Step 3: Let the Cleaner Sit (Critical Step)
Allow proper dwell time while keeping the surface damp.
This dissolves mineral bonds and reduces scrubbing effort dramatically.
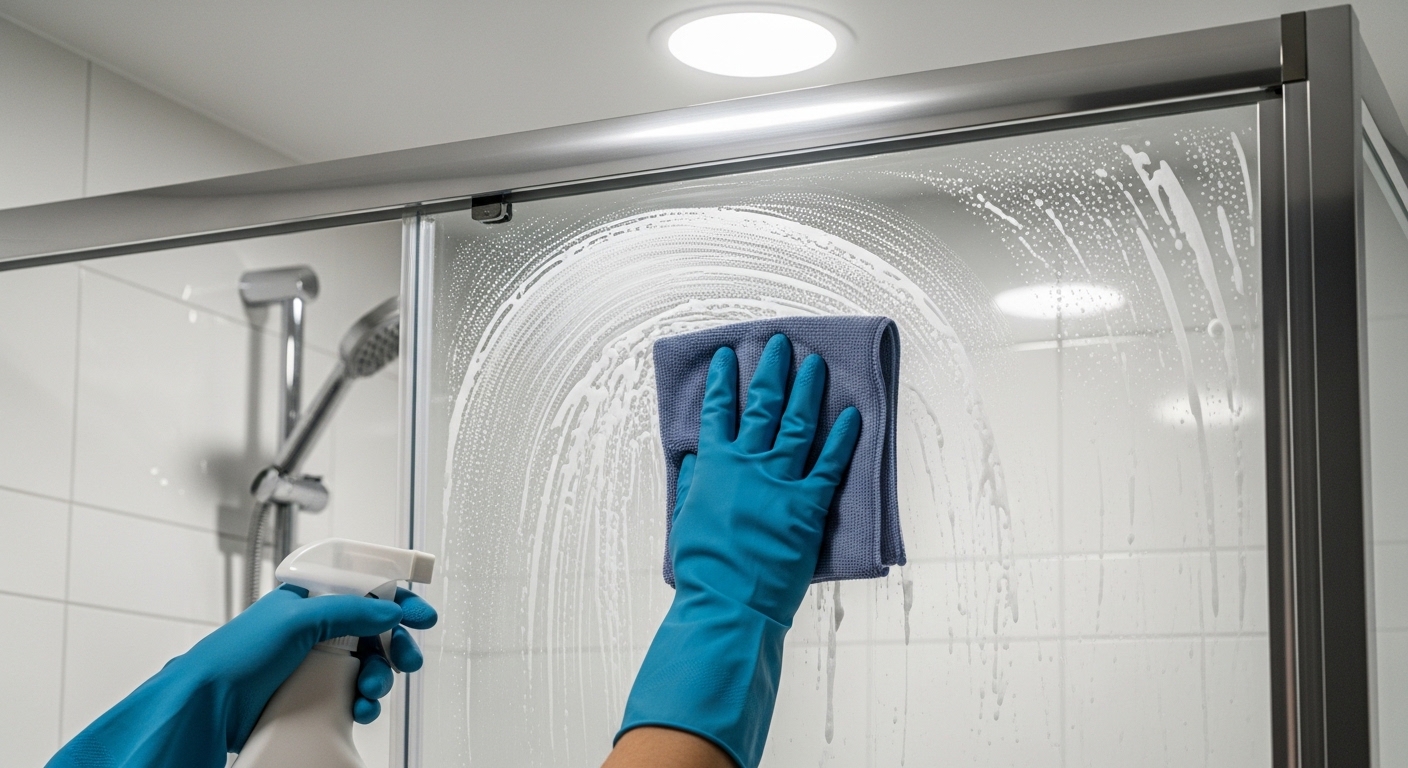
Step 4: Scrub Gently Using Circular Motions
Focus on:
- Glass haze areas
- Door edges and tracks
- Grout lines
- Around fixtures
Scrubbing should feel smooth, not forceful. If residue feels stuck, allow more dwell time instead of scrubbing harder.
Step 5: Rinse Thoroughly
Incomplete rinsing leaves residue that dries into streaks or haze.
Warm water rinsing helps remove remaining cleaner and loosened soap scum.
Step 6: Dry Immediately
Drying is essential for streak-free shower doors.
Best drying method:
✔ Microfiber cloth drying
✔ Follow with a squeegee on glass panels
This prevents new water spots from forming.
The Shower Door Method (For Crystal-Clear Glass)
This is one of the most reliable streak-free routines:
- Rinse glass with warm water
- Apply cleaner and allow dwell time
- Gently wipe with microfiber cloth
- Rinse thoroughly
- Use a squeegee from top to bottom
- Dry edges with microfiber
From experience, skipping the drying step is the main reason glass still looks cloudy.
How to Remove Heavy Soap Scum Buildup
For thick or long-term buildup:
✔ Repeat the cleaning process twice
✔ Increase dwell time instead of scrubbing harder
✔ Work in smaller sections
Multiple gentle passes are safer and more effective than aggressive scrubbing.
How Often Should You Clean Soap Scum?
High Humidity or Busy Bathrooms
- Light cleaning: weekly
- Deep cleaning: monthly
Lower Use Bathrooms
- Light cleaning: every 2–3 weeks
- Deep cleaning: every 1–2 months
Frequent light cleaning prevents heavy buildup and reduces overall effort.
The Prevention Routine That Saves the Most Time
The easiest way to prevent soap scum is moisture control.
After each shower:
✔ Use a squeegee on glass doors
✔ Wipe lower wall tiles quickly
✔ Keep bathroom ventilation running longer
This small routine dramatically slows soap scum formation.
Common Mistakes That Make Soap Scum Worse
Scrubbing Immediately After Spraying
Cleaner needs time to dissolve buildup.
Using Abrasive Tools
Scratches trap soap residue and make future cleaning harder.
Skipping Drying
Water minerals leave new film when surfaces air-dry.
Using Too Much Cleaner
Excess cleaner creates residue and streaking.
My Real Experience Cleaning Shower Glass
Through repeated cleaning routines, I’ve found:
✔ Letting cleaner sit always reduces scrubbing effort
✔ Glass looks clearest when dried immediately
✔ Soap scum builds fastest along door edges and lower walls
✔ Regular light cleaning is far easier than monthly deep cleaning
✔ Most haze comes from leftover water minerals, not soap alone
The biggest improvement came from switching from heavy scrubbing to proper dwell time and drying technique.
Final Soap Scum Removal Checklist
✔ Rinse with warm water first
✔ Apply cleaner evenly
✔ Allow proper dwell time
✔ Use non-scratch tools
✔ Rinse completely
✔ Dry glass and surfaces immediately
✔ Maintain with quick after-shower wiping
Conclusion
Removing soap scum isn’t about scrubbing harder—it’s about working smarter. Proper dwell time, gentle tools, and immediate drying can restore shower doors and bathroom surfaces without scratching or streaking.
Once you adopt this method, soap scum becomes easier to manage and far less likely to build up again.