Disinfecting your home isn’t about spraying everything in sight. The biggest mistakes people make are skipping contact time, disinfecting dirty surfaces, and focusing on low-risk areas while ignoring high-touch spots. Done correctly, disinfecting can reduce germs effectively without overusing chemicals or wasting time.
This guide breaks down how to disinfect your home safely and efficiently using proper technique, smart routines, and real-world cleaning experience.
Cleaning vs Disinfecting (They Are NOT the Same)
Understanding this difference is the foundation of proper home hygiene.
Cleaning
Removes dirt, grease, and debris from surfaces.
Disinfecting
Kills germs on surfaces using specific products and dwell/contact time.
👉 Disinfectants work best on clean surfaces. If grime or grease is present, disinfecting becomes far less effective.
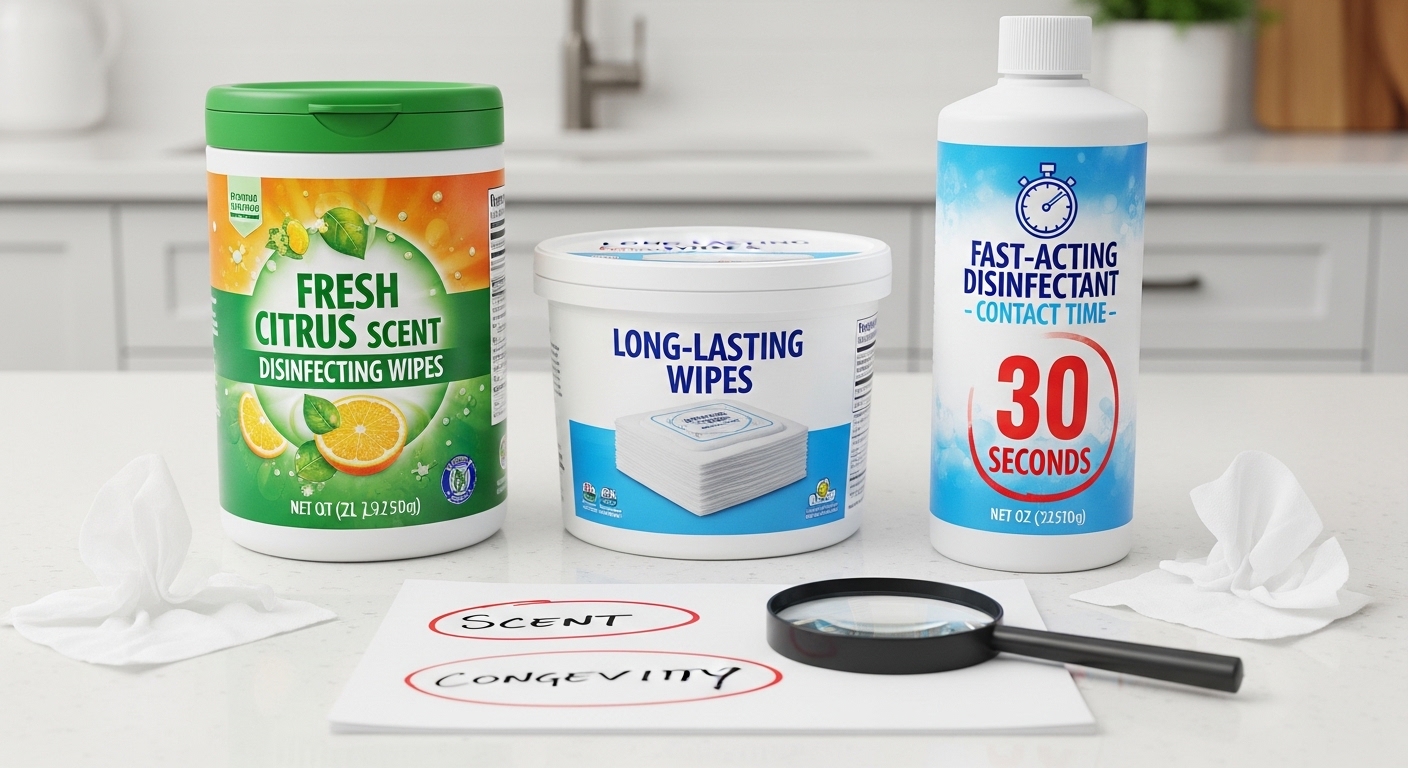
The Most Important Rule: Contact Time
What Is Contact Time?
Contact time is how long a disinfectant must stay visibly wet on a surface to kill germs effectively.
Most people wipe too quickly, which reduces effectiveness dramatically.
How to Use Contact Time Properly
- Apply disinfectant evenly.
- Keep the surface wet for the recommended time.
- Allow surface to air dry or wipe after the required dwell time if instructions say so.
If a surface dries too quickly:
✔ Reapply disinfectant
✔ Use multiple wipes or sprays
✔ Work in smaller sections
The High-Touch Surface Checklist
These are the areas that spread germs the fastest and should be disinfected most frequently.
Daily High-Touch Surfaces
- Door handles and knobs
- Light switches
- Faucet handles
- Refrigerator handles
- Remote controls
- Phones and tablets
- Toilet flush handles
- Cabinet pulls
- Sink handles
Weekly High-Touch Surfaces
- Trash can lids
- Appliance control panels
- Chair backs and armrests
- Stair railings
- Gaming controllers
- Desk surfaces
From experience, disinfecting these surfaces regularly provides the biggest hygiene benefit.
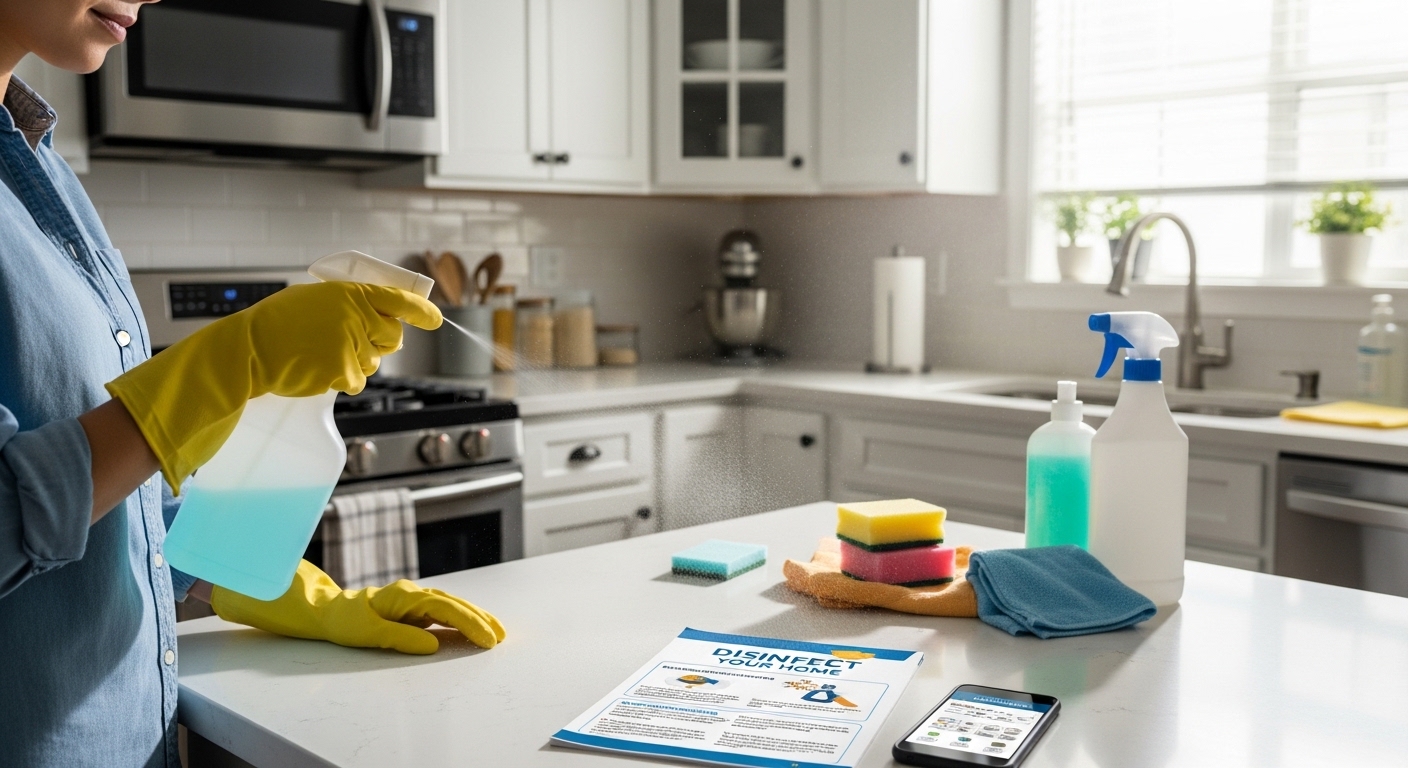
The Proper Disinfecting Method (Step-by-Step)
Step 1: Remove Dirt First
Always wipe or clean visible grime before disinfecting.
Disinfectant cannot penetrate grease or buildup effectively.
Step 2: Apply Disinfectant Correctly
Apply evenly across the surface, ensuring full coverage.
Avoid:
- Spraying too heavily
- Spraying electronics directly
- Using one wipe across large areas
Step 3: Allow Proper Contact Time
Let disinfectant remain wet long enough to work.
This step is where disinfecting actually happens.
Step 4: Allow to Air Dry or Wipe Safely
Follow label instructions. Some surfaces benefit from a final wipe, especially food-prep areas.
Room-by-Room Disinfecting Routine
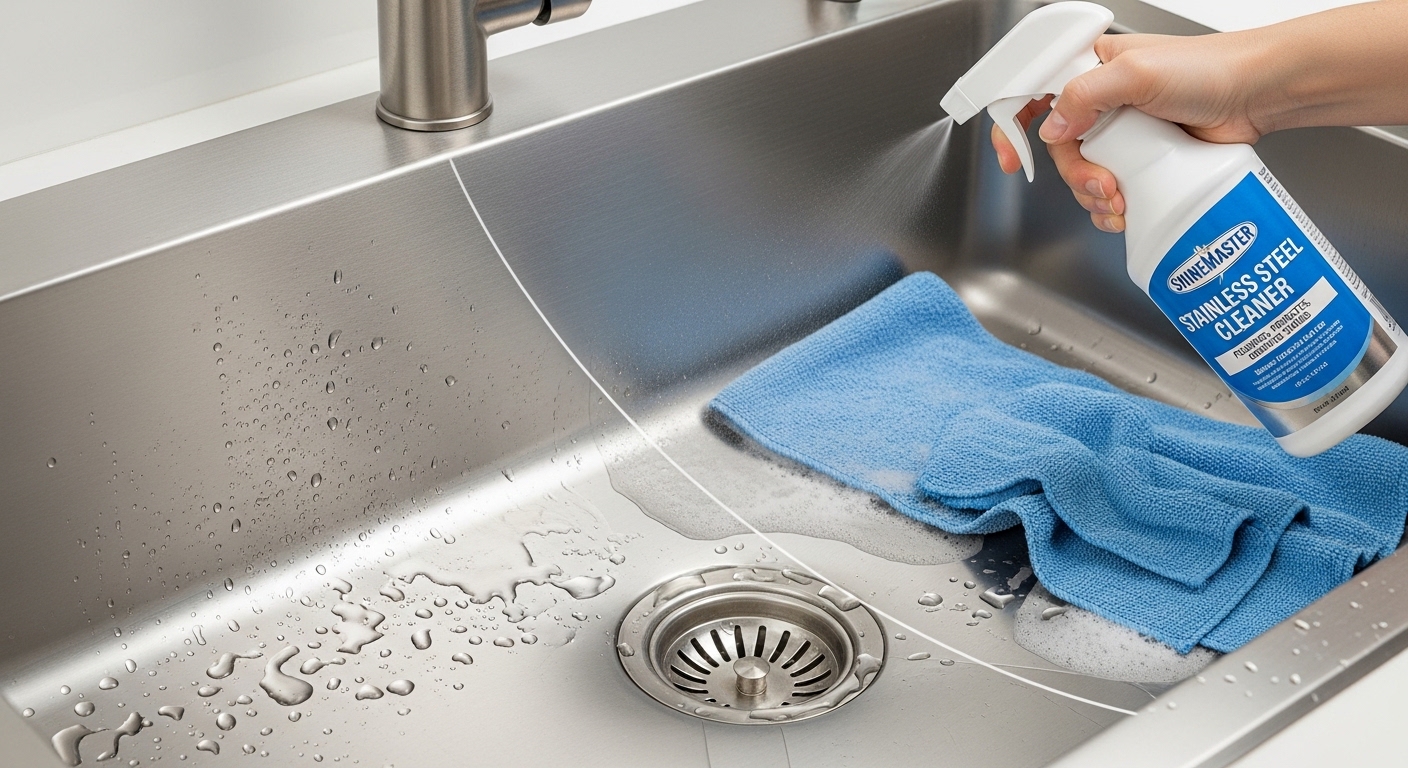
Kitchen
Focus Areas
- Countertops
- Refrigerator handles
- Sink handles
- Appliance buttons and touch panels
- Trash can lids
- Dining table surfaces
Safe Kitchen Tips
- Clean grease and food residue first
- Avoid over-spraying near food prep areas
- Consider wiping surfaces with water after disinfecting if surfaces contact food
Bathroom
Focus Areas
- Faucet handles
- Toilet handle and seat area
- Shower door handles
- Light switches
- Countertops
- Cabinet handles
Bathroom Tips
- Ventilate during disinfecting
- Focus on moisture-prone areas where bacteria and mold grow quickly
Living Room
Focus Areas
- Remote controls
- Coffee tables
- Chair armrests
- Gaming controllers
- Light switches
Living Room Tips
- Use controlled moisture on electronics
- Wipe frequently touched shared items
Bedroom
Focus Areas
- Nightstands
- Light switches
- Door handles
- Alarm clocks
- Phone charging areas
Bedrooms usually require less disinfecting unless illness is present.
Entryway and Hallways
Focus Areas
- Door handles
- Railings
- Shoe storage surfaces
- Light switches
Entryways often bring germs into the home and benefit from regular disinfecting.
Safe Disinfecting Practices
Ventilation Matters
Open windows or use exhaust fans when disinfecting to reduce chemical exposure.
Never Mix Cleaning Chemicals
Especially avoid mixing:
- Bleach with ammonia
- Bleach with acids or vinegar
- Multiple disinfectants together
Protect Skin and Eyes
Use gloves when necessary and avoid spraying directly toward your face.
Use Correct Moisture on Electronics
Apply disinfectant to a cloth or wipe rather than spraying directly.
How Often Should You Disinfect Your Home?
Normal Household
- High-touch surfaces: daily or several times weekly
- Full-room disinfecting: weekly
During Illness or Flu Season
- High-touch surfaces: daily
- Bathrooms and kitchens: several times weekly
- Shared electronics: daily
The Efficient 10-Minute Daily Disinfecting Routine
- Wipe door handles and switches
- Disinfect kitchen handles and counters
- Wipe bathroom sink handles and toilet handle
- Clean remotes and phones
This short routine prevents heavy germ buildup.
Common Disinfecting Mistakes
Wiping Too Fast
Prevents disinfectants from working.
Using Dirty Wipes or Cloths
Spreads germs rather than removing them.
Ignoring High-Touch Areas
These spread germs faster than floors or walls.
Overusing Chemicals
Does not improve effectiveness and can leave residue.
Real Experience Tips for Better Results
✔ Disinfect smaller sections to maintain wet contact time
✔ Focus on shared items rather than rarely touched surfaces
✔ Replace wipes or rinse cloths frequently
✔ Combine cleaning and disinfecting into a simple daily routine
The biggest improvement in home hygiene usually comes from consistency, not heavy deep cleaning.
Final Disinfecting Checklist
✔ Clean visible dirt first
✔ Apply disinfectant evenly
✔ Maintain proper contact time
✔ Focus on high-touch surfaces
✔ Follow room-by-room routine
✔ Use ventilation and safe handling
✔ Maintain regular cleaning schedule
Conclusion
Proper home disinfecting is less about using stronger chemicals and more about using the right method. By understanding contact time, targeting high-touch areas, and following a simple room-by-room routine, you can maintain a cleaner and healthier home without unnecessary effort or chemical overuse.