Nothing is more frustrating than mopping your floors… only to watch streaks, cloudy film, or sticky spots appear once everything dries. Most streak problems don’t come from the mop itself—they come from too much water, incorrect cleaning order, or dirty rinse water being spread across the floor.
This guide breaks down a simple, proven method to mop floors streak-free, based on real cleaning experience, practical techniques, and small adjustments that make a big difference.
Why Floors Get Streaky After Mopping
Before fixing streaks, it helps to understand what causes them.
1. Too Much Cleaning Solution
Using extra cleaner doesn’t make floors cleaner. It often leaves behind residue that dries into streaks or dull haze.
2. Dirty Mop Water
Once rinse water turns gray, you’re basically spreading grime instead of removing it.
3. Skipping Dry Debris Removal
Dust, hair, and crumbs mix with water and smear across the surface.
4. Over-Wetting the Floor
Floors—especially tile, laminate, and hardwood—clean best with a damp mop, not a soaking wet one.
The Correct Water Ratio (Most People Use Too Much Cleaner)
The biggest streak mistake is overusing cleaning solution.
General Rule of Thumb
- Floors usually need lightly diluted cleaner
- Water should always be the main ingredient
A good practical ratio for most routine mopping:
✔ Warm water with a small amount of floor cleaner
✔ If you can see suds, it’s usually too strong
From experience, floors look streak-free when the solution feels “barely soapy” rather than heavily scented or bubbly.
Why Warm Water Works Better
Warm water:
- Breaks down grease faster
- Lifts dirt easier
- Helps cleaner spread evenly
Hot water isn’t necessary and can sometimes cause residue to dry too fast.
The Correct Order of Steps (The Step Most People Skip)
Following the right sequence matters more than the mop type.
Step 1: Dry Clean First
Always remove loose debris before introducing water.
This includes:
- Dust
- Pet hair
- Sand or dirt particles
- Food crumbs
From experience, skipping this step is the fastest way to create streaks because wet debris smears across the floor.
Step 2: Prepare Fresh Cleaning Water
Use warm water with a mild cleaning ratio. Avoid strong mixtures unless removing heavy grease buildup.
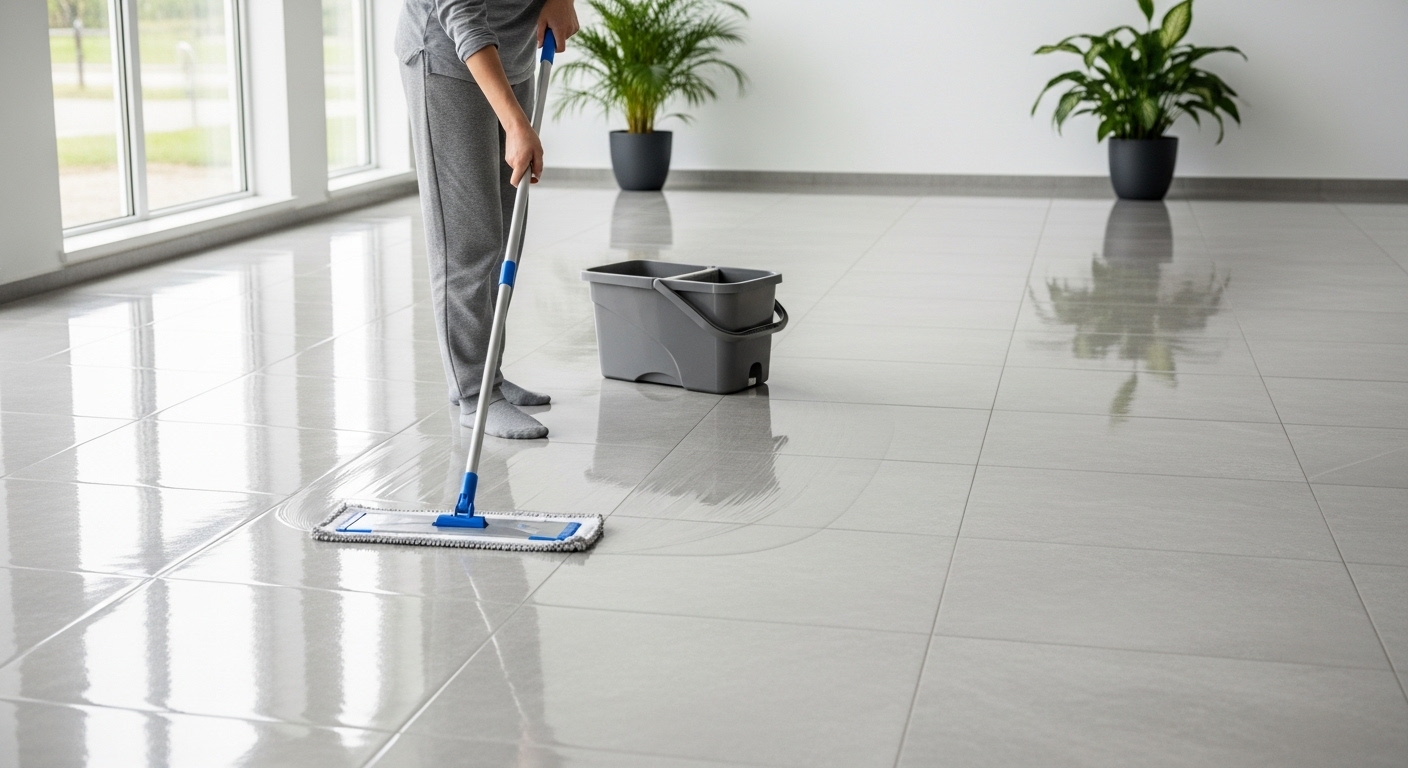
Step 3: Mop in Sections
Work in small zones instead of flooding the entire floor.
Best technique:
- Mop in overlapping passes
- Finish each section with long, straight strokes
- Move toward an exit point so you don’t walk over wet floors
Step 4: Control Mop Moisture
The mop should feel damp, not dripping.
If water pools on the floor, the mop is too wet.
Less water:
- Prevents streaks
- Speeds drying
- Reduces residue buildup
The Two-Bucket Trick (The Secret to Streak-Free Floors)
This is one of the most effective professional cleaning techniques.
How the Two-Bucket Method Works
Bucket One: Cleaning Solution
Used only to apply fresh cleaning water to the mop.
Bucket Two: Rinse Water
Used only to remove dirt from the mop before dipping back into clean solution.
Why This Method Works So Well
Without it, you’re dipping a dirty mop back into your cleaning water repeatedly. That turns your cleaning solution into muddy water quickly.
Using two buckets:
- Keeps cleaning water cleaner longer
- Removes more dirt instead of redistributing it
- Reduces streaking dramatically
How to Use the Two-Bucket Method Properly
- Dip mop into cleaning solution bucket
- Mop a section of floor
- Rinse mop thoroughly in rinse bucket
- Wring mop well
- Return to cleaning solution bucket
- Repeat
From real experience, this method noticeably improves floor clarity, especially on tile and glossy flooring.
The Right Mopping Pattern (Often Overlooked)
Best Pattern
- Mop in gentle “S” or figure-eight motions
- Overlap strokes slightly
- Finish with straight passes in one direction
This reduces swirl marks and uneven drying.
Floor-Type Tips to Prevent Streaks
Tile Floors
- Use minimal cleaner
- Rinse mop frequently
- Focus on grout lines separately if needed
Tile tends to show streaks when cleaner residue builds up.
Hardwood Floors
- Use very little moisture
- Mop along wood grain
- Dry immediately if needed
Excess water can damage wood and cause cloudy finishes.
Laminate Floors
- Damp mop only
- Avoid pooling water completely
- Work quickly in small sections
Laminate streaks easily if over-wet.
Vinyl Floors
- More forgiving with moisture
- Still benefits from light cleaner dilution
- Two-bucket method prevents dull film buildup
Common Mistakes That Cause Streaks
Using Too Much Cleaner
This creates sticky residue that attracts dirt faster.
Not Changing Water Often Enough
Dirty water = streaky floors.
Using Fabric Softener on Mop Pads
Softener coats microfiber fibers and reduces dirt pickup.
Mopping Too Large an Area at Once
This spreads grime and lets solution dry unevenly.
My Real Cleaning Experience Tips
Over time, I’ve noticed floors stay streak-free longer when:
✔ I mop smaller areas instead of rushing the whole floor
✔ I rinse the mop more often than I think I need
✔ I use less cleaner than recommended on the bottle
✔ I finish by lightly drying high-traffic sections
✔ I replace mop pads once they stop grabbing dirt effectively
One surprising lesson: most streaks come from trying to mop faster, not slower.
How Often Should You Mop to Prevent Streaks?
Consistency reduces buildup, which makes streaking less likely.
High Traffic Homes
- Light mop: several times per week
- Deep mop: weekly
Lower Traffic Homes
- Light mop: weekly
- Deep mop: every 2–3 weeks
Final Streak-Free Mopping Checklist
✔ Sweep or vacuum first
✔ Use warm water with mild cleaner ratio
✔ Mop in small sections
✔ Keep mop damp, not wet
✔ Use the two-bucket method
✔ Finish with straight drying passes
✔ Replace dirty water frequently
Conclusion
Streak-free mopping isn’t about buying better tools—it’s about using better technique. The right water ratio, proper cleaning order, and the two-bucket method can completely change how floors look and feel after cleaning.
Once you switch to damp mopping, cleaner water, and smaller working sections, floors usually dry faster, look brighter, and stay cleaner longer.